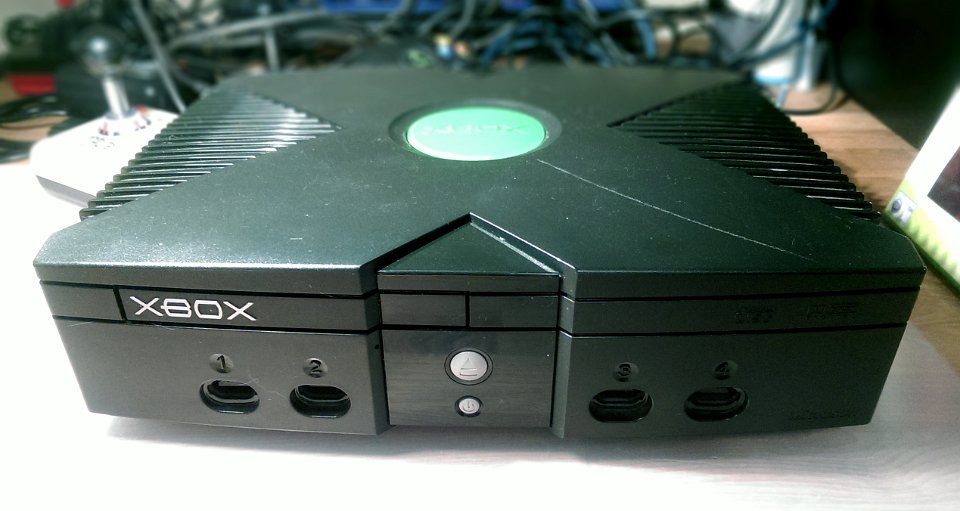
 1 Microsoft has messed up the Google searches for the first Xbox. What are we supposed to call it? Well. technically, it's just 'Xbox'. The historical reason is that it was internally referred to as the 'Direct X Box'. In any case, this is the front view of a PAL version. |
 2 The underbelly of the Xbox. To unscrew the 6 screws holding it all together, you need a T20 screw driver. These screws are long and pretty much reach through the height of the case. |
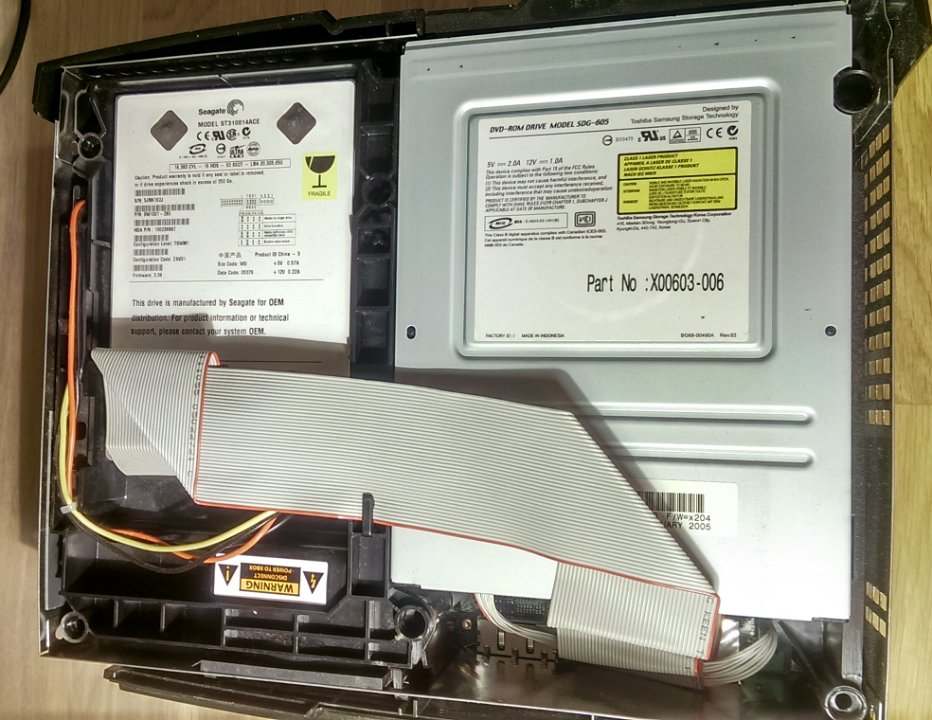
 3 Once the screws are removed from the underside of the Xbox, you can lift of the top panel/cover. (Sorry for crappy phone camera) to the left you can see the DVD drive and to the right we have a standard 3.5" Hard Drive. |
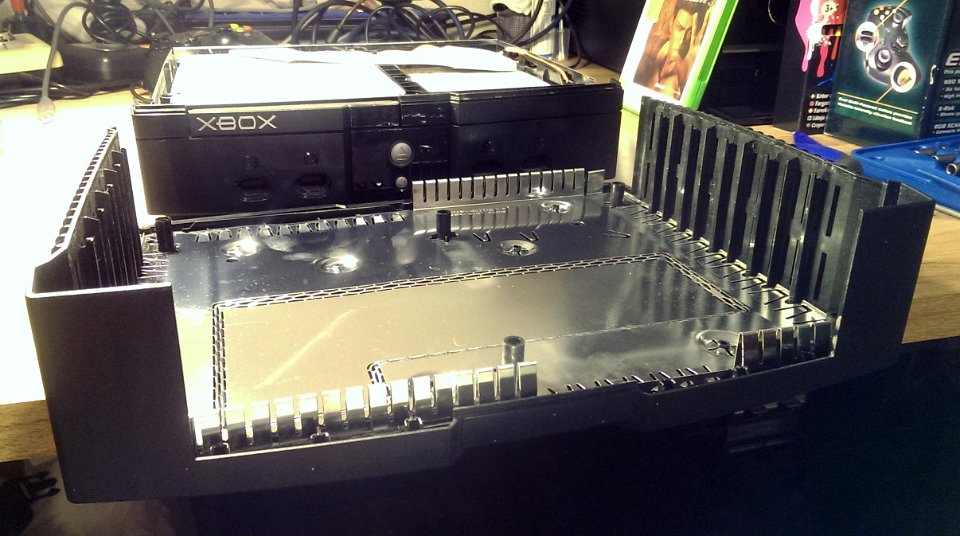 4 The removed top cover of an Xbox. |
 5 With the top cover removed from the Xbox, here is a top down view of whats under the 'hood'. A single split ATA cable connects both the DVD and the HDD to the mainboard. |
 6 The Hard Drive in the Xbox is a fairly standard Seagate 3.5" ATA drive. I believe the size of the drive is 8GB. |
 7 In the next step, a T10 screwdriver is needed to remove the plastic holder where the HDD sits in the Xbox. |
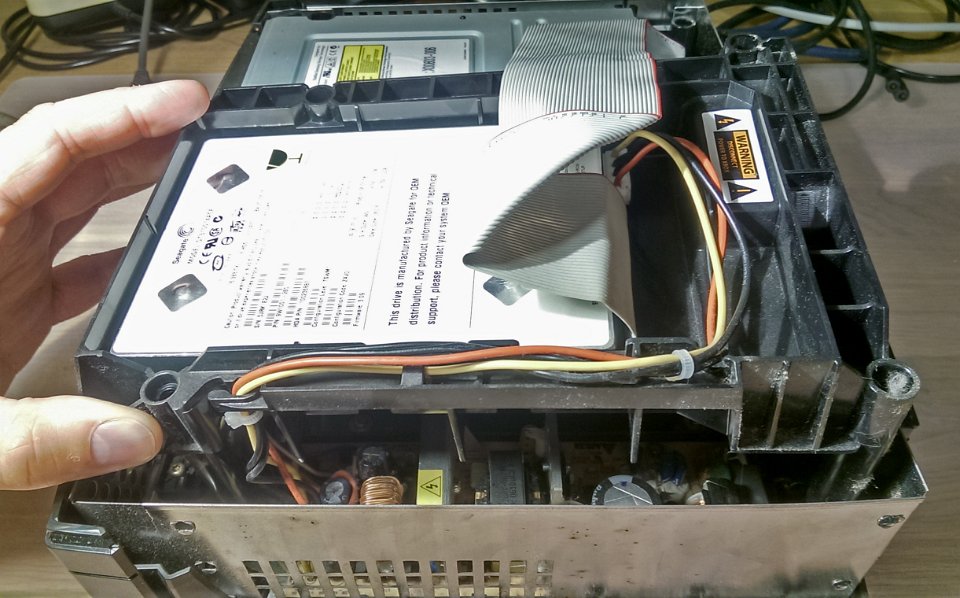 8 Once the T10 screw is removed, the 'HDD cradle' can be lifted off, however some cables will prevent you to easily separate it from the box completely. |
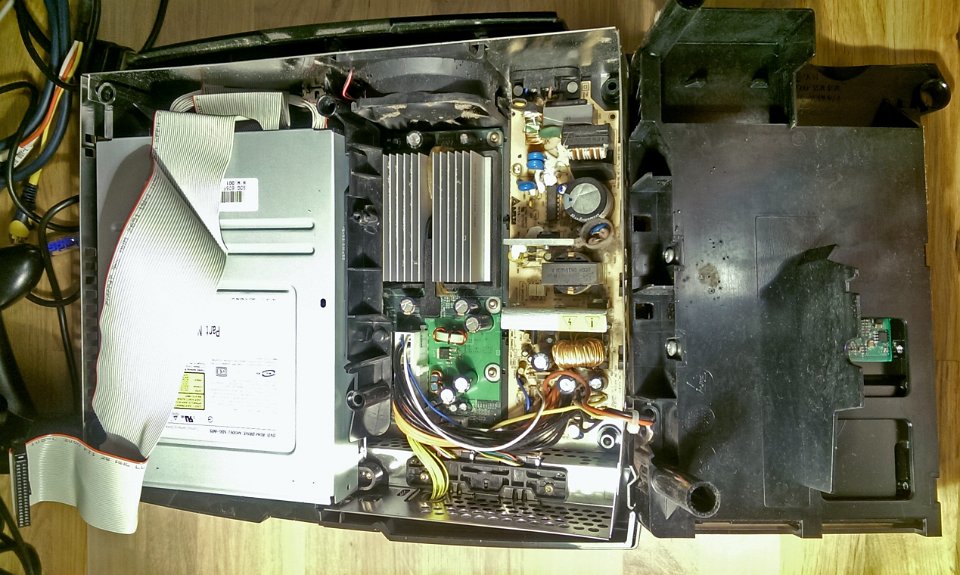 9 With the 'HDD cradle' turned over to the right, the internal PSU is reveald an parts of the Xbox motherboard. |
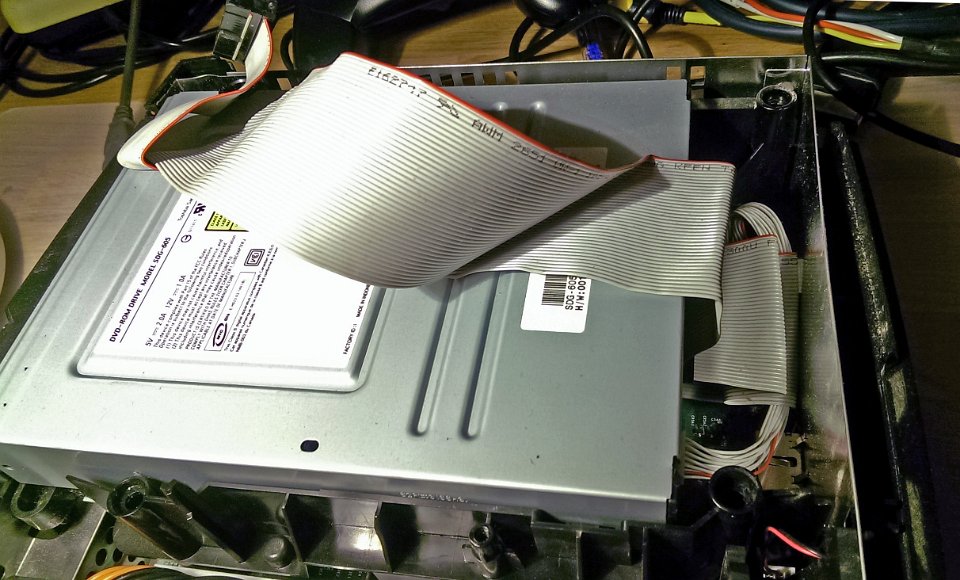 10 Now it's time to remove the DVD player from the Xbox. |
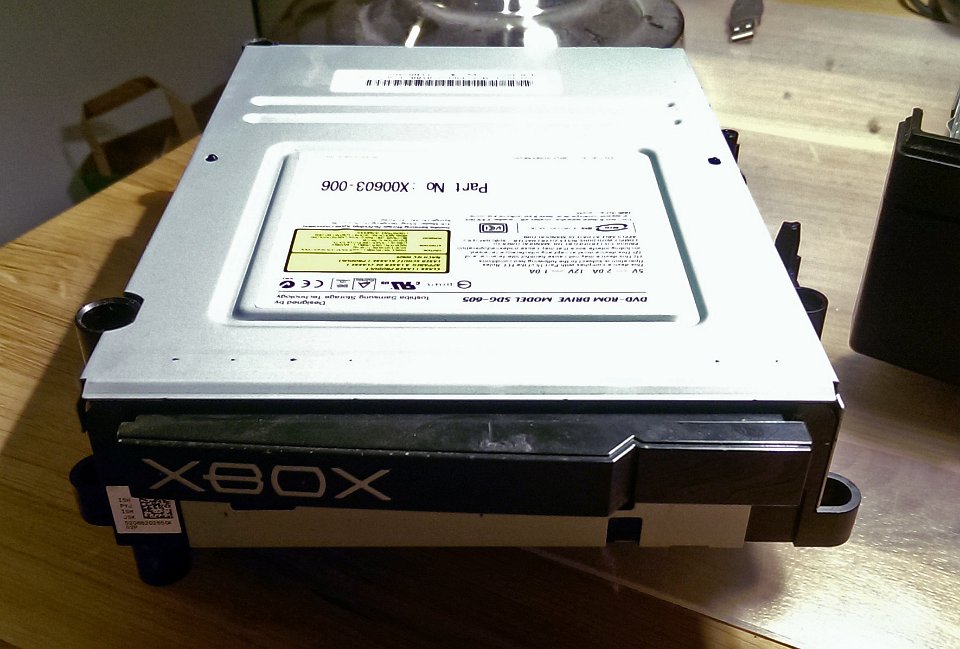
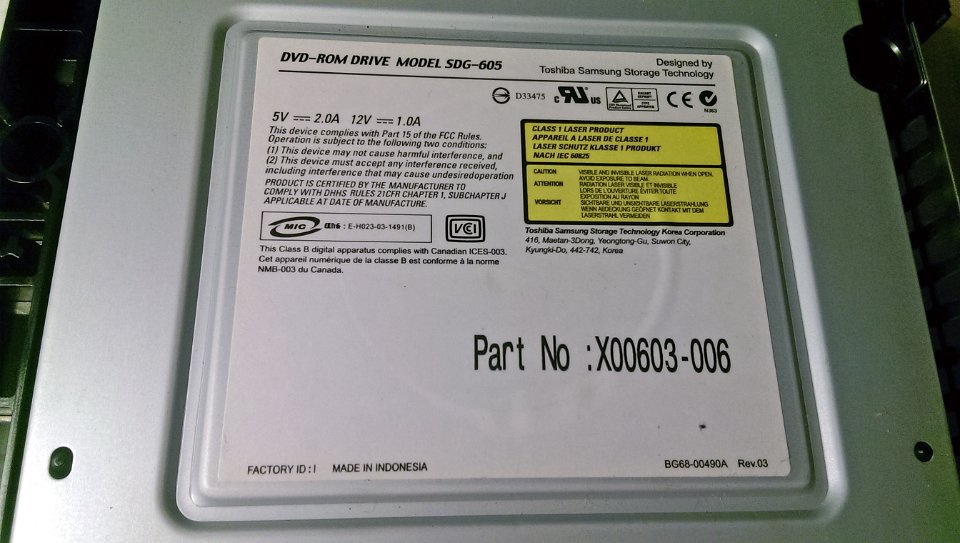 11 The DVD ROM in the Xbox looks standard enough, but as you will see, some design features makes this a pretty "custom" piece. |
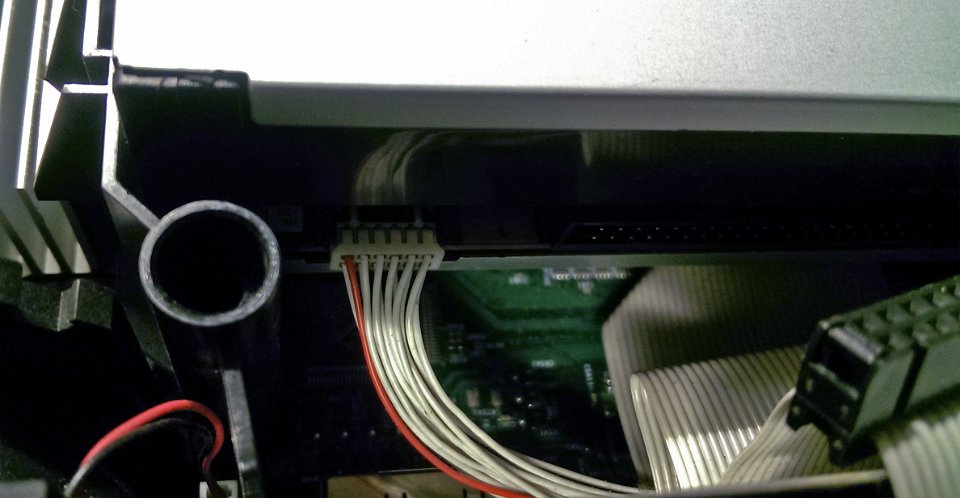 12 The ATA connector to the right is a standard IDE/ATA connector, the power connector however is not your typical 4 pin molex. |
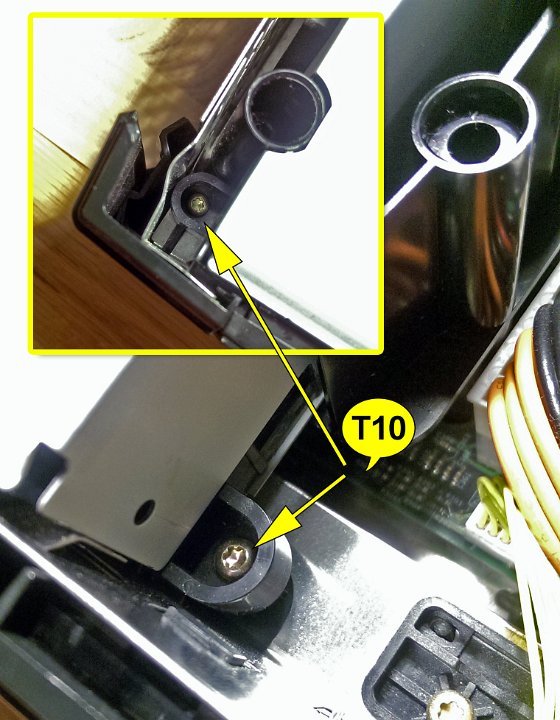 13 Two more T10 screws need to be removed in order to remove the DVD ROM from the Xbox. |
 14 There, the Xbox DVD ROM unit, and as you can see, there is some very custom plastic integrated into the DVD unit. |
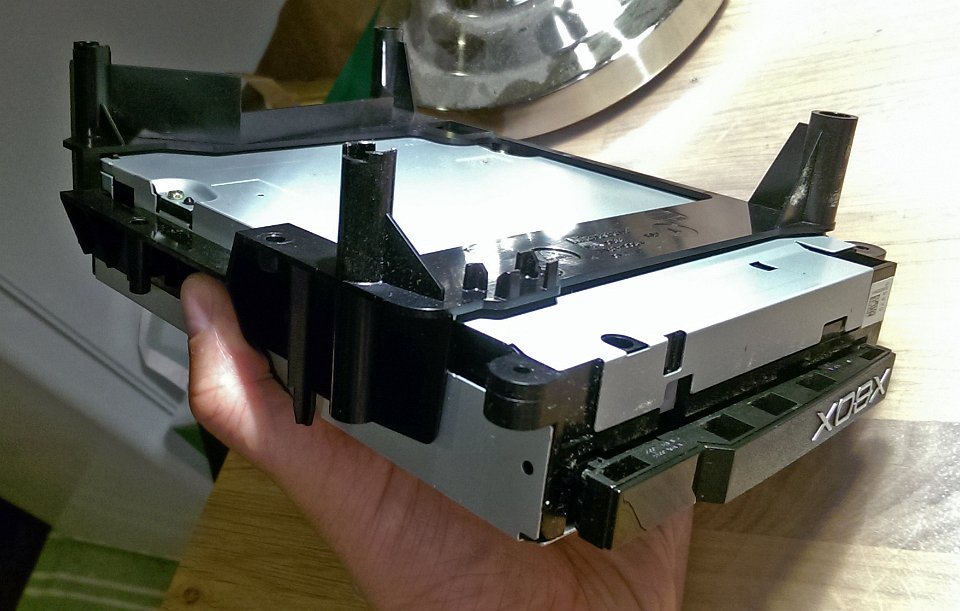 15 There, the Xbox DVD ROM from below. The cradle is also a custom thing. |
 16 The Xbox DVD ROM unit, and as you can see here again, there is some very custom plastic integrated into the DVD unit. |
 17 You can lift off the Xbox DVD ROM unit from the cradle, but the player is still a customized item. |
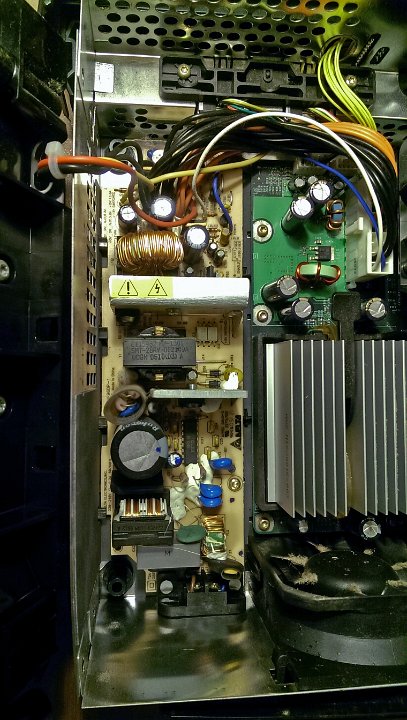 18 Another look of the Xbox PSU. I was expecting some shielding around this, but no. |
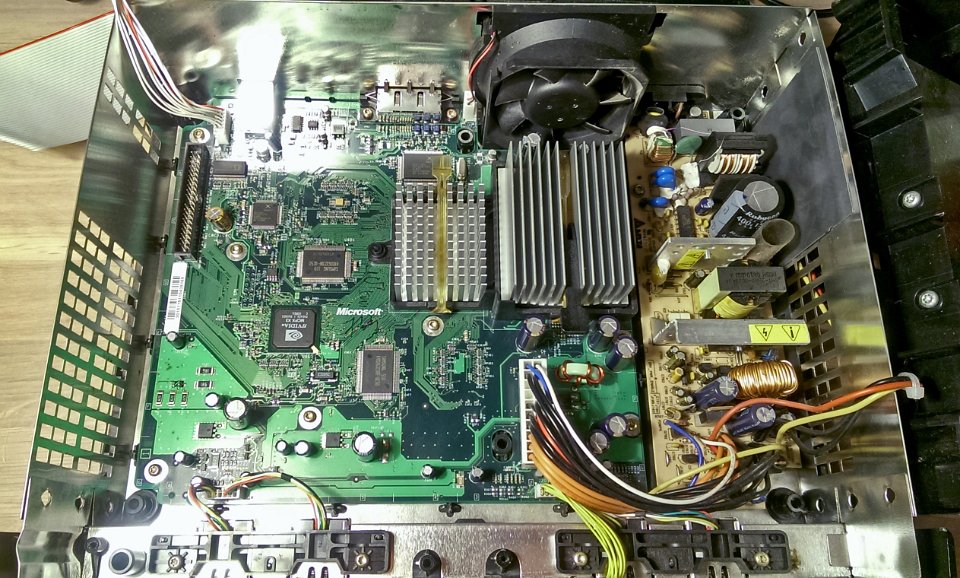 19 With both the DVD ROM unit and the HardDrive removed, we can now see pretty much the entire Xbox motherboard. Under the two big heatsinks we find the nVidia GPU (the left, smaller one) and an Intel CPU (bigger, to the right). |
 20 Somce custom chips and some memory chips on the Xbox motherboard. The chip to the right is an nVidia chip, however, this is not the main GPU. (The GPU is to the left under the heat sink). |
 21 Another one of Xbox's custom chips 'Xyclops'. |
 22 And the 'Xcalibur' custom chip sitting 'north' of the GPU on the Xbox motherboard. |